
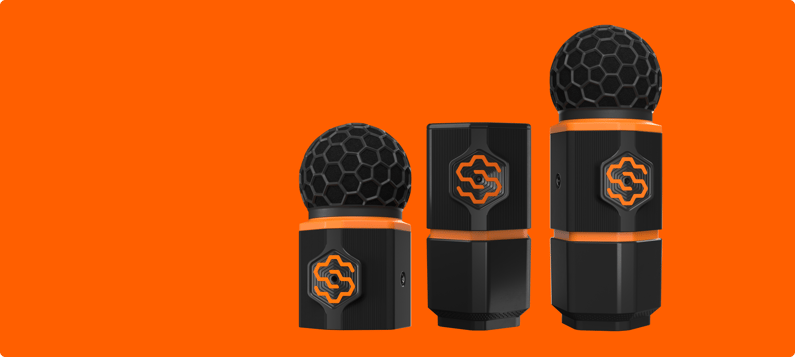
This guide covers deploying the SiteHive Hexanode Noise, Dust and Noise+Dust devices in two configurations: the solar stand setup (lithium or lead-acid battery), and the solar panel with pole mount.
Solar stand setup: Hexanode Noise, Dust, & Noise+Dust
Watch the video for the solar stand setup. Steps 5 and 6 in the video show the differences between lithium and lead-acid batteries.
Steps
Lift the solar panel: lift the panel and tighten the screws via the 45° bracket.
Connect the bottom upright: attach the bottom upright pole to the base via the corner bracket, and attach the 45° bracket to the solar panel.
Connect the top upright: connect the top upright pole via the straight brackets.
Connect the Hexanode: unscrew the thread from the bottom of the Hexanode device, then insert the screw through the bottom of the L bracket and into the Hexanode.
Connect and mount the battery: connect the battery cable to the lithium (or lead-acid) battery, connect the load cable to the Hexanode device, then place the battery under the solar panel or mount it to the base.
Check the Hexanode device is on: look for the flashing light in the centre of the SiteHive logo. Green means it is powered, connected and recording: you are done here, note which way the logo faces, take a photo and move to the next device. Any other colour, or none at all: Lights: what they mean and when all is good.
Solar panel with pole mount: Hexanode Noise, Dust, & Noise+Dust
Watch the video for the solar panel with pole mount setup.
Steps
Remove the solar panel from the base frame: loosen the screws.
Remove the side pole from the frame and re-attach it to the panel.
Remove the angle bracket and attach it to the mounting pole.
Mount the solar panel.
Mount the frame on the fence or pole: zip ties can be used.
Mount and connect the battery.
Mount the Hexanode device.
Orientate the Hexanode device for camera coverage: each camera has a 160° view. See Orientate your device for setting the orientation, including working it out from the camera images.
Connect power to the Hexanode device.
Check the Hexanode device is on: look for the flashing light in the centre of the SiteHive logo. Green means it is powered, connected and recording: you are done here, note which way the logo faces, take a photo and move to the next device. Any other colour, or none at all: Lights: what they mean and when all is good.
What’s next
Add a device with Easy Setup (assign the device to a monitoring point and see your data)
Orientate your device (confirm the compass bearing so Direction of Arrival is accurate)
Device on but no data? If a device goes offline